Patio Cover Install Timeline in Western WA: Weather, Permits, and Prep
A patio cover project involves more than the days a crew spends on-site. Learn how design choices, local reviews, material coordination, property preparation, and Western Washington weather shape the schedule.
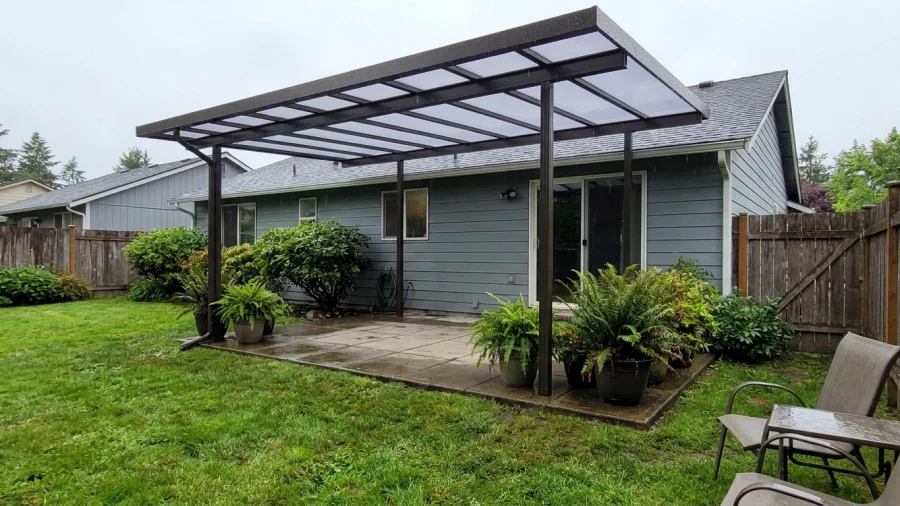
A patio cover can make an outdoor space more useful through Western Washington’s rainy seasons, but its schedule depends on more than the installation itself. Design decisions, local requirements, materials, site conditions, and weather can all affect when work starts and finishes. The stages below offer a planning framework rather than a completion-date promise.
What to expect from a patio cover installation timeline
The overall patio cover installation timeline in Western Washington runs from the first site assessment through the final walkthrough. The on-site installation period is only one part of it. Permit review, design decisions, and material coordination may all happen before a crew arrives.
A straightforward cover over an accessible patio may follow a different schedule than a custom layout with difficult access or structural questions. Before work is scheduled, the installer should explain the expected milestones, what each one depends on, and which dates are still tentative.
Stage 1: Assess the patio and choose a cover design
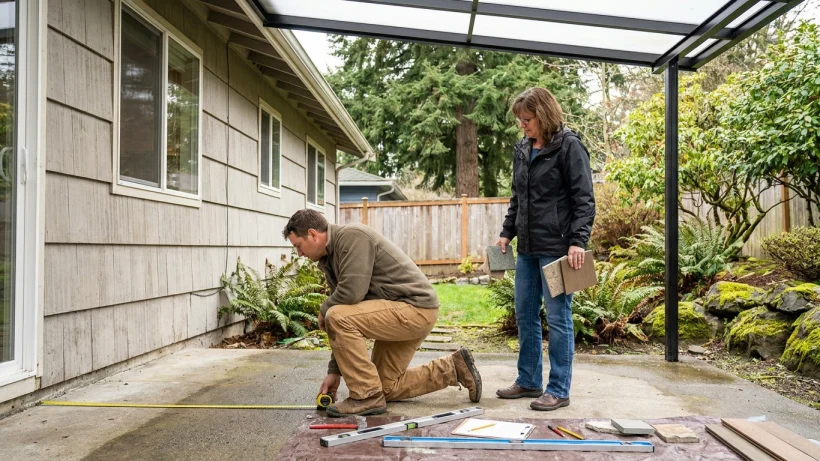
A useful site review starts with the patio footprint and access, then looks at the house and surrounding yard. Existing roof or wall connections, nearby doors and windows, drainage paths, and space for posts can all influence the design.
Homeowners can compare attached and freestanding layouts, solid and translucent roof panels, frame colors, and the balance of shade and daylight they want. In Western Washington, rain runoff, wind exposure, and moisture at the house connection deserve particular attention. Share how you plan to use the space—and any future ideas for lighting or outdoor cooking—before the layout is finalized.
Stage 2: Check permits and local requirements
Permit and review requirements vary by city or county and by the proposed cover. Size, attachment to the house, structural details, and site conditions can matter. The local building department or project team should confirm what applies to the specific property before an installation date is treated as firm.
Electrical work, drainage changes, proximity to a property line, or applicable land-use rules may raise additional questions. Confirm who will prepare and submit any required documents, what information is still needed, and whether an approval is required before work begins. Review time is not universal; local workload and an incomplete application can affect it.
Stage 3: Finalize details and coordinate materials
Before scheduling, confirm the measured dimensions, layout, attachment details, roof style, frame finish, and plans for directing water away from the structure. The project team should verify measurements and access conditions rather than relying only on an early concept.
Made-to-order components and design revisions can change material availability or the start date. A written scope should identify what is included and excluded, what the property must be ready for, and which milestones depend on approvals or materials. Resolving major selections early makes the schedule easier to understand.
Stage 4: Prepare the property before installation
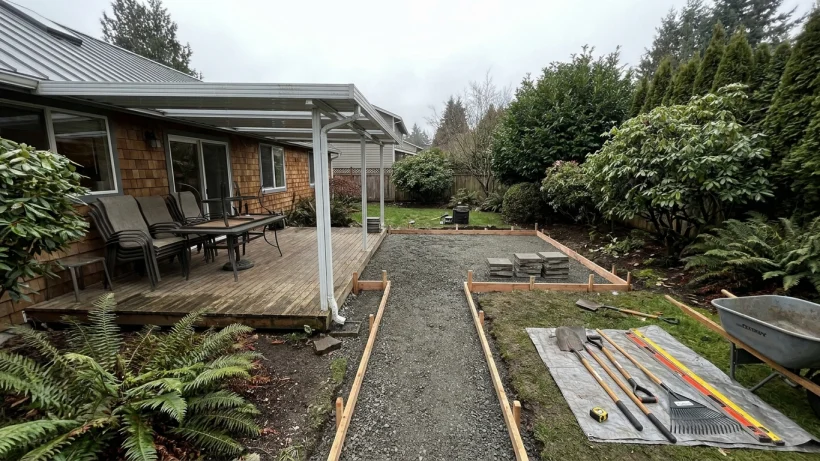
A clear work area helps the crew get started and reduces the chance that belongings will be damaged or need to be moved during construction. Discuss any large or fixed items that cannot be cleared.
- Move furniture, grills, planters, and fragile items away from the patio.
- Confirm the crew’s access route, including gates, parking, delivery space, and surfaces that need protection.
- Plan to keep children and pets out of the active work zone and allow for limited patio use.
- Point out irrigation lines, outdoor outlets, lighting, drains, and other features that could be affected by digging or construction.
- Confirm the expected arrival window, access arrangements, and how weather-related changes will be communicated.
Stage 5: Installation day and on-site work
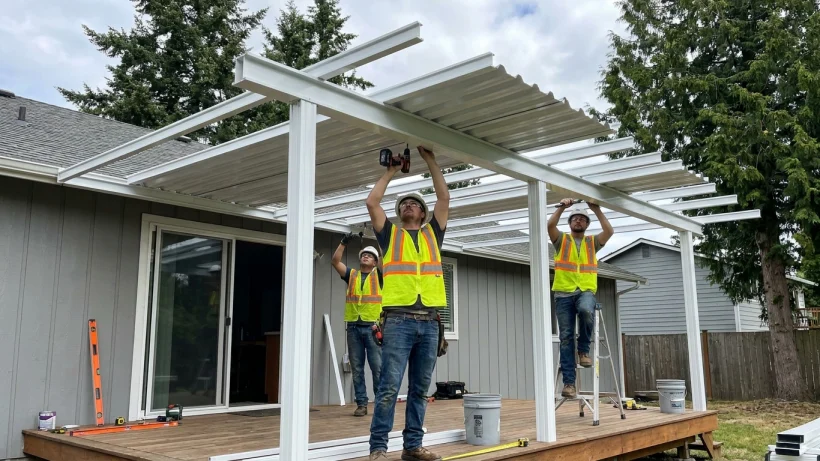
On-site work generally begins with protecting the area and confirming the layout. Depending on the design, the crew then prepares supports or attachment points, assembles the frame, installs roof components, and completes finishing details. Some covers require foundation or structural work; others do not require the same steps.
The sequence and time on-site can change if concealed conditions differ from what was visible during planning. Keep the agreed work area accessible and know whom to contact if you have a question or the crew identifies a condition that may affect the scope.
How Western Washington weather can affect the schedule
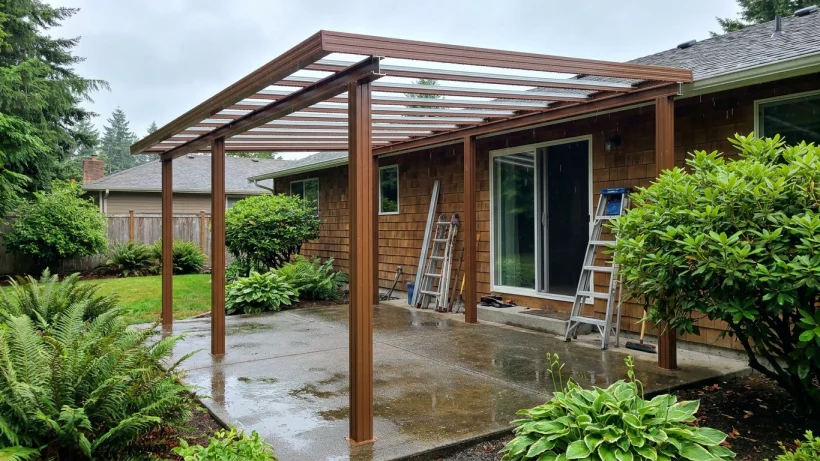
Light rain does not automatically stop every task. Heavy rain, wind, slippery surfaces, or conditions that interfere with safe work or installation quality may require a pause. Wet weather can also affect access and ground conditions, as well as the timing of concrete or other site work when those steps are needed.
Ask how the project team decides when to pause, whether other tasks can continue safely, and how schedule updates will reach you. Especially during wetter periods, leave room for adjustments rather than treating a tentative start date as a guaranteed finish date.
Final walkthrough, cleanup, and questions to confirm
At the walkthrough, review visible connections, roof panels, drainage direction, and agreed finishing details with the installer. Check that project debris has been removed and that moved items or access areas have been handled as agreed.
Ask how to care for the selected materials, whom to contact with questions afterward, and which project records or product information apply to your installation. The clearest schedule is one built around confirmed approvals, a written scope, a prepared site, a weather communication plan, and stated assumptions before work begins.