Attic Ventilation Checklist for Puget Sound Roof Replacements
A roof replacement is a useful time to review attic airflow. Use this checklist to record what you can safely observe and compare how roofing proposals address ventilation and moisture concerns.
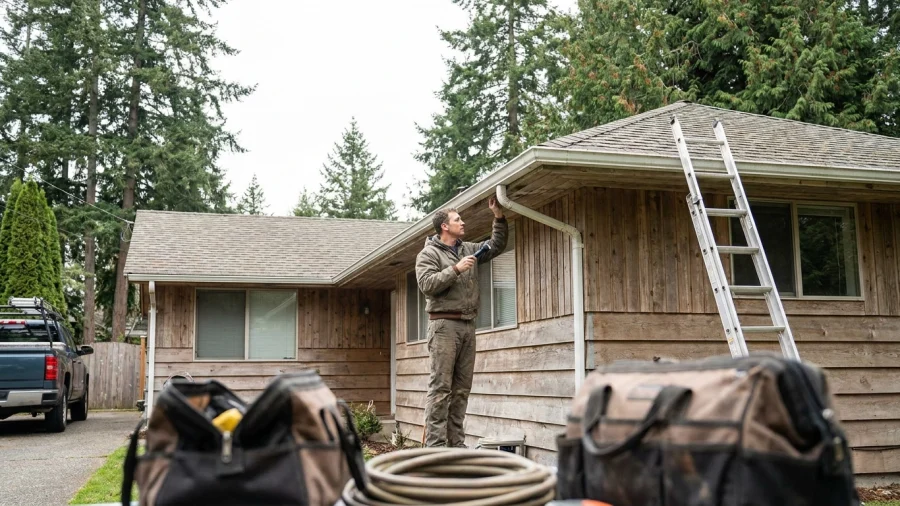
In Western Washington, a roof replacement is an opportunity to look beyond the shingles and review how the attic handles airflow. This checklist helps you document visible conditions, ask useful questions, and understand what a roofing scope does—and does not—address.
Why review attic ventilation during a roof replacement?
Where the roof design allows, attic ventilation provides a planned path for air to enter and leave the attic. Replacing a roof creates a practical chance to review that path, but new shingles alone will not correct every airflow or moisture problem. The right approach depends on the roof shape, attic layout, and how the house is built.
Puget Sound’s frequent rain, cool damp periods, and seasonal temperature changes make moisture clues worth discussing. Ventilation is only one part of that discussion: blocked vents, air leaking from living spaces, bathroom or kitchen exhaust duct leaks, and plumbing leaks can also affect an attic. A roofer can review visible roof and attic conditions; persistent moisture or indoor-air concerns may need evaluation by a qualified specialist.
Start with a simple attic and roof ventilation inventory
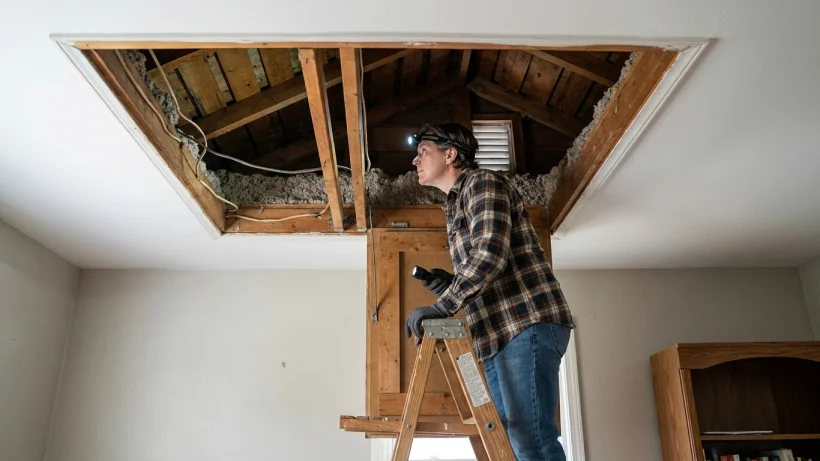
Before comparing proposals, record what you can see from the ground or a safe attic access point. You do not need to diagnose a problem. Photos and brief notes give the roofing contractor a clearer starting point.
- Note the roof shape and approximate age, if known, and whether the attic is vented, finished, or partly conditioned.
- Photograph visible eave, roof, and gable vents from the ground or attic hatch when practical.
- Report insulation covering eave openings, stored items obstructing accessible airflow paths, or debris around visible vents.
- Note damp-looking sheathing, staining, musty odors, rusted fasteners, or frost seen during cold weather. None of these clues identifies a cause on its own.
Do not walk on the roof, step onto ceiling joists, or disturb insulation, wiring, or suspected mold. Leave unsafe attic access and close inspection to appropriate professionals.
Check whether intake and exhaust are planned as a system
In a common vented-attic arrangement, outside air enters through lower openings at the soffits or eaves and leaves through higher openings, such as ridge or roof vents. Some homes use gable vents or a different configuration. The question is not whether a particular vent type appears on the estimate, but whether the proposed openings form a workable path for this roof.
- Ask the contractor to point out the intended intake and exhaust locations and explain how they suit the roof shape.
- Ask whether insulation or construction details block accessible eave openings. Added exhaust vents may not perform as intended if intake is restricted.
- If ridge, roof, and gable vents are mixed, ask how the existing and proposed openings will work together rather than assuming the combination is either correct or defective.
Vent quantity and sizing should be based on field measurements, the selected products, and applicable requirements—not a generic vent count.
Review the roof features that can complicate airflow
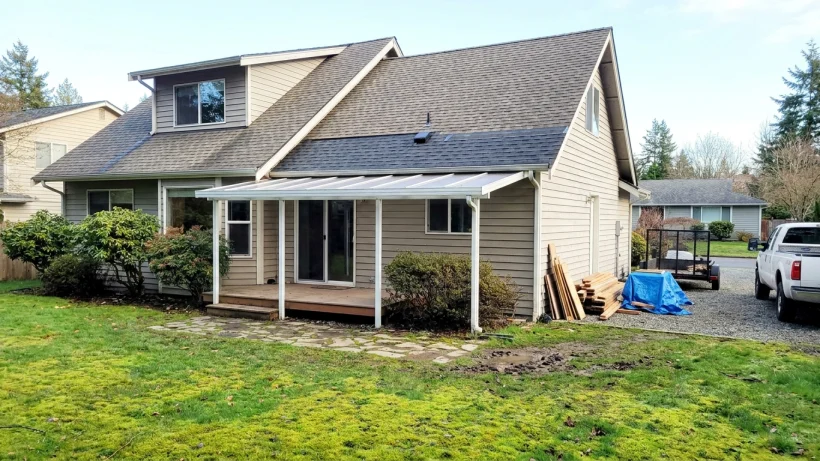
Ask whether the attic is one continuous space. Additions, interior partitions, vaulted ceilings, and other framing can separate areas that appear connected from outside. Hips, valleys, dormers, skylights, and multiple roof levels can also affect vent placement and roof detailing.
For any area that does not connect easily to the main attic airflow path, ask how it will be assessed. A proposal based on an exterior view may need field verification when accessible attic areas are inspected or roof materials are removed.
Use this checklist when reviewing the roofing scope
Compare proposals for what they say about ventilation, not just whether they list a vent product. Useful scope questions include:
- What existing ventilation conditions were observed, and what ventilation work is included?
- Where are the proposed intake and exhaust openings? Which existing vents will be retained, removed, replaced, or added?
- Will accessible intake openings be checked for blockage by insulation or construction details?
- How will damaged sheathing, soffits, or other concealed conditions be handled: as included work, an exclusion, or a documented change?
- How will the completed arrangement be checked against the roof layout, product instructions, and applicable local requirements?
- Which assumptions cannot be confirmed until tear-off or closer inspection?
Know when ventilation may not be the whole moisture solution
Attic staining or dampness does not automatically mean the attic needs more vents. Indoor air leakage, an exhaust duct discharging into the attic, a roof or plumbing leak, and limited ventilation can produce similar-looking clues. Ask how visible concerns will be investigated before treating added vents as the answer.
If a bathroom or kitchen exhaust duct ends in the attic, ask whether a qualified professional should route it outdoors. Persistent moisture, widespread suspected mold, or unexplained indoor humidity also deserves further evaluation rather than relying on a ventilation change alone.
Before approving the replacement, confirm the plan in writing
Keep your initial photos and notes with the written estimate. Confirm the proposed intake and exhaust approach, the work included, and any limitations or assumptions. Ask how unexpected conditions found during tear-off will be documented and discussed before additional work proceeds.
After installation, the completed ventilation arrangement should be reviewed against the home’s actual roof and attic conditions. Ask which visible components were installed or retained, and what you can safely watch for from the ground, such as a displaced vent cover or debris at an accessible opening.