Post-Roof Replacement Checklist: Validate Flashing, Venting, and Warranty
Use this post-roof replacement checklist to review visible work safely, compare it with your project scope, and organize questions about flashing, ventilation, cleanup, and warranty documents.
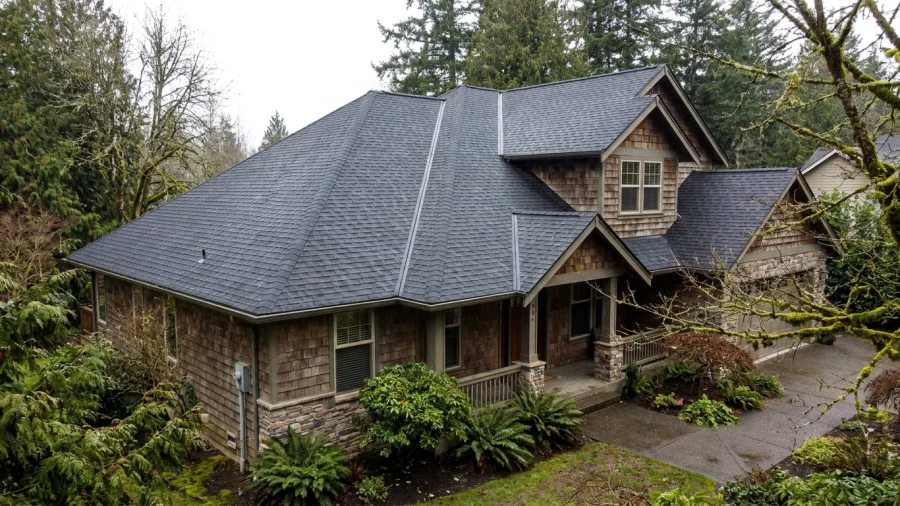
A final review helps you confirm what was completed and preserve a useful record of your new roof. It is not a do-it-yourself roof inspection. Focus on what you can see safely, what the written scope says, and which details need confirmation from the roofing contractor.
Start with the approved scope and a safe review
Gather the signed proposal, documented scope changes, product information, and completion paperwork. Compare those records with the finished project from the ground, windows, or other safe locations. Do not walk on the roof or disturb roofing materials; leave close-up inspection to qualified roofing professionals.
Record the completion date and take dated photos of visible areas. Roof pitch, building layout, and Western Washington weather may limit your view. A detail you cannot see from the ground is not, by itself, evidence of a defect.
Check visible flashing and roof-to-wall details
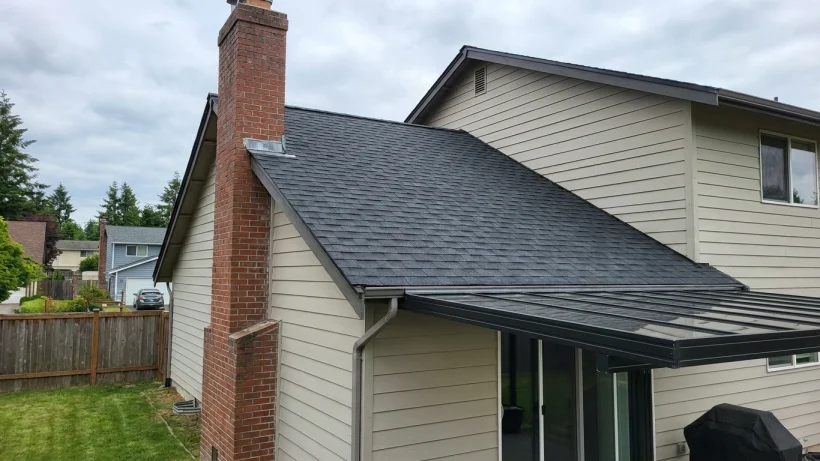
Use the proposal or final walkthrough to identify flashing work at chimneys, skylights, plumbing vents, walls, valleys, and roof edges. From a safe viewing point, note obvious gaps, displaced materials, or transitions that appear unfinished. Appearance alone cannot confirm whether flashing was installed correctly.
Ask which flashing was replaced and whether any existing flashing was reused, then compare the answer with the agreed scope and conditions found during the project. After rain, note and promptly report any interior staining or dampness. Document where and when you noticed it without assuming the roof is the cause.
Confirm ventilation details without assuming more is better
Ask which intake and exhaust components were included, such as soffit intake, ridge vents, or other roof vents. Compare the completed configuration with the planned scope, and note any vents that appear covered or blocked from a safe viewing location. The contractor can confirm details you cannot see.
More exhaust venting alone does not necessarily improve performance. Intake, exhaust, attic configuration, and applicable requirements all affect the plan. If attic access is safe and familiar, you can look for obvious changes such as blocked airflow paths or new moisture. Do not move insulation or inspect electrical equipment.
Review roof edges, penetrations, and visible workmanship
From the ground, check whether visible roof edges and shingle courses appear generally consistent and whether loose material or debris remains. Look at any safely visible pipe boots, skylight perimeters, valleys, and gutter lines for areas that appear unfinished or disturbed.
Do not lift, pull, or press on shingles, sealants, or flashing to test them. Photograph a concern from a safe location, note where it is, and share it with the contractor for assessment.
Check cleanup and protect the property after the crew leaves
Walk accessible parts of the yard and driveway to look for packaging, visible fasteners, and roofing debris. Look toward gutters from the ground where possible, and compare the cleanup performed with what the project scope included.
Keep children and pets away from work areas until hazards have been addressed. If you spot debris on the roof, in a gutter, or somewhere difficult to reach, do not climb to retrieve it. Report its location to the roofing contractor.
Organize warranty and product paperwork
Keep the signed contract, final scope, receipts or payment records, product and color details, and manufacturer documents in one place. Ask which written warranties or other coverage documents apply, who provides each one, whether registration or maintenance steps are required, and where exclusions are described.
Confirm how to report a future concern and what records or photos the provider may request. A product warranty does not necessarily cover workmanship, and a contractor’s workmanship commitment may have different terms. Use the documents for your project rather than assuming coverage.
Close out open questions and keep a roof record
Send one concise written list of unresolved questions, identifying locations and attaching dated photos where helpful. Ask for clarification if the finished work appears different from the written scope or if a promised document is missing. Save the responses with the completion date and product details.
Keep that record available for future maintenance or service discussions. If you later notice ceiling stains, unusual attic moisture, or visible storm damage, record the change and seek a qualified assessment rather than attempting roof repairs yourself.