Rainscreen Siding Installation: What to Expect in Puget Sound's Wet Climate
A rainscreen gives water that gets behind siding a path to drain. Learn how the assembly works, what installation involves, and which details matter for Puget Sound homes.

In Western Washington, siding has to handle long wet stretches as well as occasional wind-driven rain. A rainscreen siding installation adds a drainage space behind the exterior cladding so incidental water has a way out. Understanding the layers and the installation sequence can help you compare project scopes and know what to expect at your home.
What a rainscreen siding assembly does
The siding is the visible outer layer, but it is not the only part of the wall managing water. In a typical rainscreen assembly, a space created by furring strips or a drainage mat sits behind the siding. Behind that space is a water-resistive barrier over the wall sheathing. Water that gets past siding joints or openings can drain down the space and out through a properly detailed bottom edge. Depending on the design, the space may also allow air movement that helps the wall dry.
The drainage space does not make the exterior waterproof on its own. Its dimensions and materials vary with the siding product, wall design, exposure, and manufacturer instructions. Flashing, a continuous water-control layer, and careful connections at openings and transitions still do essential work.
Why moisture management matters in Puget Sound
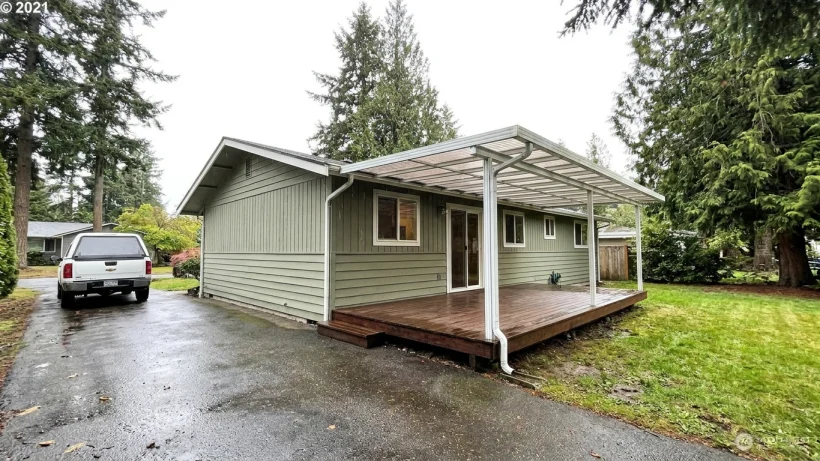
Puget Sound homes can face prolonged rain, wind-driven water, and shaded walls that dry slowly. Siding sheds much of that water, while the layers behind it manage moisture that passes through joints or reaches openings. A drainage path gives incidental water a route out instead of leaving it against the wall.
Exposure varies from house to house and even from one wall to another. Orientation, nearby trees, roof overhangs, topography, and the existing wall assembly all affect how wet a wall gets and how quickly it dries. A rainscreen may be a useful part of the design, but it cannot compensate for poorly integrated flashing or other gaps in the wall's water-management details.
How contractors assess the wall before installation
Before work begins, a contractor should review the existing siding and trim, window and door connections, utility penetrations, and places where decks or roofs meet the wall. Visible staining, soft materials, or earlier repairs deserve a closer look. This review helps define the proposed work; it does not mean concealed damage is necessarily present.
Once old siding comes off, conditions hidden beneath it may change the scope. The exposed sheathing and other substrate need to be suitable for the selected water-control layer, drainage method, trim, and siding. Ask how the home will be protected during tear-off and how any unexpected repairs will be documented and discussed before additional work proceeds.
The main steps in a rainscreen siding installation
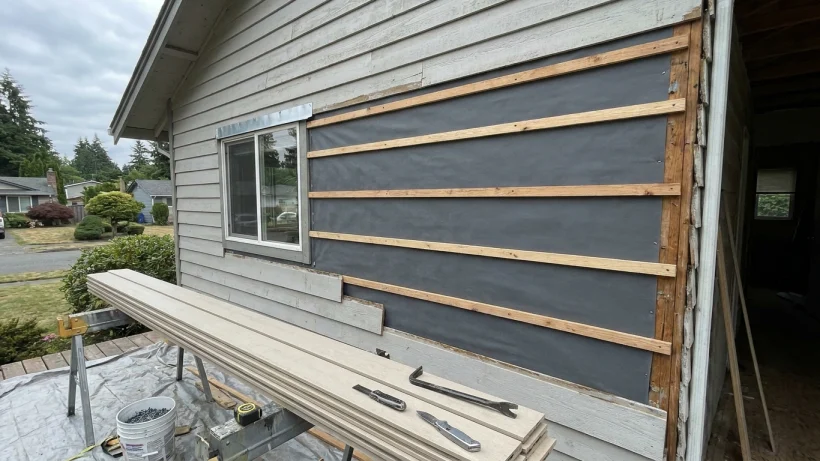
A typical project moves through the following stages, though the exact sequence depends on the products and the condition of the wall:
- Protect nearby landscaping and work areas, then remove existing cladding to the extent described in the scope.
- Inspect and prepare the exposed wall; install or repair the water-resistive barrier as needed.
- Integrate flashing at windows, doors, penetrations, and other transitions so water is directed outward.
- Install the specified furring strips or compatible drainage mat to create the drainage space.
- Fasten the new siding using the selected product's required fasteners, placement, and clearances.
- Complete corners, trim, bottom edges, and connections to roofs, decks, or other exterior materials.
The order matters because each layer must connect to the next without trapping water. The siding and system manufacturers' instructions, along with the needs of the particular wall, should guide the final assembly.
Installation details worth understanding as a homeowner
Some of the most important details become difficult to see after the siding goes on. Ask how the drainage space stays continuous, where water exits at the bottom, and how the top and bottom are detailed to limit unwanted pest entry without blocking drainage. At windows, doors, deck connections, rooflines, and utility penetrations, flashing and siding details need to work together rather than rely on sealant alone.
The selected siding also has requirements for clearance from grade, roofs, decks, and other surfaces. Fastener type, placement, and spacing depend on the product and what it is attached to. For complicated areas—especially where an addition or older repair joins the original wall—a written detail or drawing can make the intended approach easier to understand before it is covered.
Questions to ask when comparing a project scope
Two siding proposals may describe different assemblies or include different amounts of preparation. These questions can help clarify what each written scope covers:
- Which siding product, drainage-space method, water-resistive barrier, and flashing components are included?
- How will windows, doors, corners, utility penetrations, and transitions to decks or roofing be detailed?
- What removal, substrate preparation, disposal, and site protection are included?
- How will concealed conditions be documented, discussed, and approved if additional work is needed?
- Which manufacturer installation instructions will guide the work, and what product documentation will be provided?
Compare proposals for the same wall areas and details, not just the headline total. A clear scope makes it easier to see where the proposed assemblies differ.
What to expect during the work and after installation
Siding replacement brings noise, material staging, and periods when sections of the wall are temporarily exposed. Your contractor should explain the planned sequence and how exposed areas will be protected while work is underway. At closeout, review visible siding alignment, trim, flashing transitions, clearances, and cleanup, along with any project-specific documentation.
Keep product and installation records and follow the siding manufacturer's care guidance. Over time, look for damaged siding, sealant that appears to have failed, blocked drainage openings, or changes around windows and roof transitions, and address concerns promptly. A rainscreen is one part of the exterior wall system; its performance depends on the complete assembly, installation, site exposure, and ongoing maintenance.